
Quick summary (30 sec)
Banners — Getting Started — feature-specific Verion guide.
What is it?
Banner getting started covers size presets, image upload vs URL, and submitting creatives for review before they rotate in Verion placements.
Why use it?
Start here so your first creative matches an allowed size and survives moderation.
When to use — and when not
- After you have banner credits and at least one goal URL
- Before buying more credits blindly
How it works in Verion
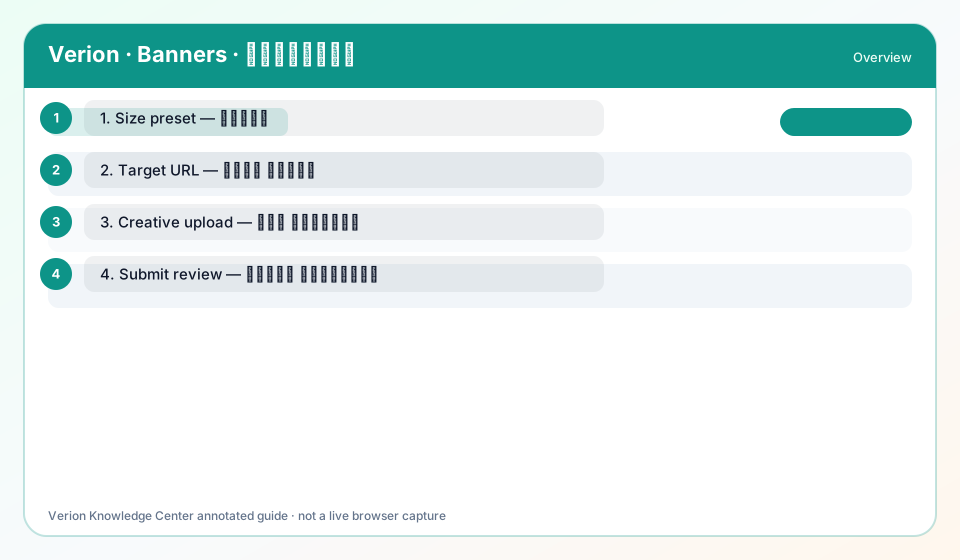
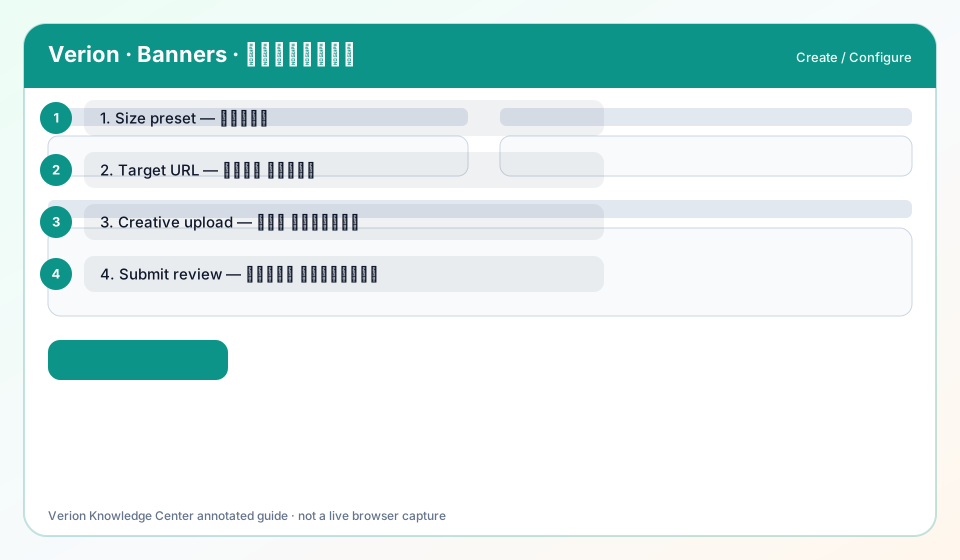
Open Banners → Add banner. Choose Size (must match the creative pixels), set Target URL, upload an image ≤512 KB or paste image URL, optional targeting, then Submit for review.
Requirements
- Banner plugin enabled
- Banner credits
- Policy-compliant creative
Who it is for
- Advertisers launching display
- Publishers verifying placement sizes
Step-by-step
- Confirm banner credit balance on Dashboard.
- Pick a SIZE_PRESETS value that matches your file (e.g. 728x90).
- Set a HTTPS target URL that loads without interstitial traps.
- Upload image or provide image_url — not both conflicting.
- Optional: country/language/device/schedule targeting.
- Submit and wait for approved status before expecting impressions.
Best practices
- Match file dimensions to Size exactly
- Keep file under 512 KB
Common mistakes
- Wrong size → creative rejected or clipped
- HTTP-only targets may fail policy
FAQ
What is Frequency Cap?
Max impressions per user in a time window to reduce ad fatigue — set on campaign/placement rules when exposed.
Why is Size required?
Placements only serve matching dimensions; mismatch wastes credits.
Troubleshooting
Stuck in pending
Check image size, policy text overlays, and target URL. Open a ticket with the banner ID.
Zero impressions after approve
Verify credits, targeting too narrow, and publisher fill for that size.
Was this helpful?